ADFSolution

Friday, May 1, 2015

Install IIS 7 on Windows Server 2008 R2

Hi Friends. Today i share how to install IIS 7 on windows Server 2008 R2


Step 1   Click Start -> All Programs -> Administrative Tools -> Server Manager.

Steps 2             Go to Roles


Select Web Server  IIS and Click to Next


Step 3 Go to Role Services .     

Select the Check Box and Click Next.

Select Confirmation. 


Click Next Select  Results.


Click Close.


Click Install.
Enter Url       http://localhost/


Finely you have installed IIS7 on window server 2008 R2.


Monday, March 2, 2015

Installing Oracle WebCenter Content 11g.

Hi Friends


Today I am sharing how to Installing Oracle WebCenter Content 11g.

In this blog I would like to briefly show the steps to install Oracle WebCenter Content 11g. Oracle WebCenter 11g is based on Weblogic server now and they also need database schema created just as other Oracle Fusion applications.
 
You can download Oracle XE, Weblogic 10.3.6 and RCU 11.1.1.7 from this url:
 http://www.oracle.com/technetwork/middleware/soasuite/downloads/index.html

You can download Oracle WebCenter Content from the url:
http://www.oracle.com/technetwork/middleware/webcenter/content/downloads/index.html 


If you already have Weblogic installed you can skip this step.

Step 1: Install Weblogic.


Go to Window and write cmd then enter.
provide path where you have Weblogic Server.

Now start the installer just use the following command.

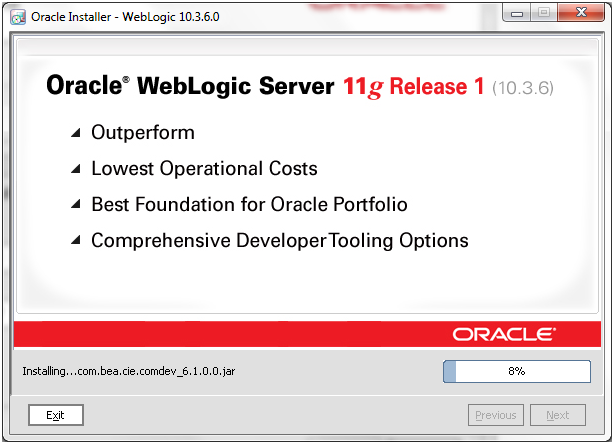
java ‐jar wls1036_generic.jar 


                                                            Click Next.


                                    Select the path and click Next.
                             
                                         Click Next.


                                     Select the JDK and click Next.
                                          

                                     Click Next.


                                         Click Next.


                                           Click Done.

Step 2: Install database schemas using RCU.

You download is ofm_rcu_win_11.1.1.6.0_disk1_1of1.zip. Unzuip this file into the folder RCU and
run the following command.


 Here it is assumed that Oracle XE 11g is installed already see previous blog.

 Go to RCU  path  C:\rcuHome\BIN\rcu.bat and run.


                                                        Click Next.


                                                    Enter User name sys
                                                    Enter Password  welcome
                                                    Click Next.


                                                          Click Next.


                                                   Click Ok.

                
                                                  Click select and click Next.


                                                Click Ok.
                                                Enter the password  welcome.
                                                click Next.


                                                 Click Next.


 Step 3: Install Oracle WebCenter Content 11g.

The download of WebCenter Content 11g are two zip files: 

ofm_wcc_generic_11.1.1.8.0_disk1_1of2.zip and ofm_wcc_generic_11.1.1.8.0_disk1_2of2.zip.

cd  C:\UCM(11.1.1.8)\ofm_wcc_generic_11.1.1.8.0\Disk1.

setup ‐jreLoc C:\Java\jdk1.7.0_06.


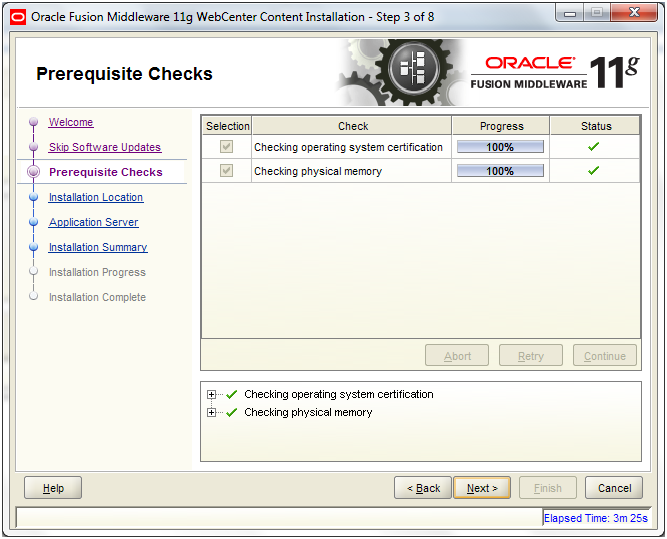
                                               Click Next.


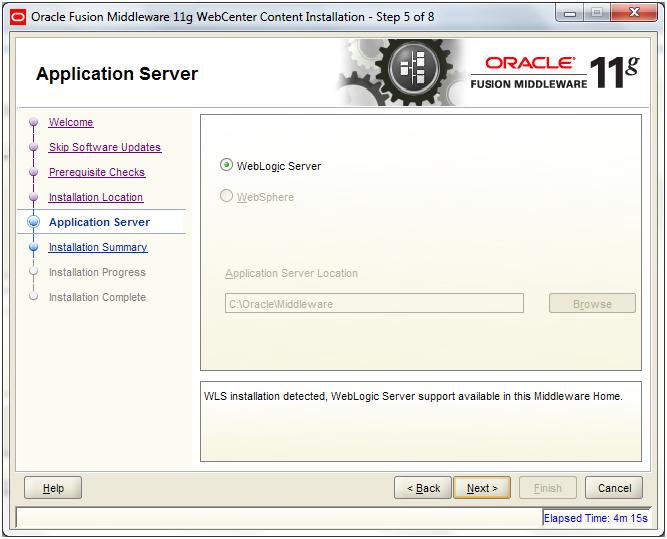
                                               Click Next.
 

                                                Click Next.


                                               Click Next.


                                                    Click Next.


                                                  Click Next.


                                                  Click Finish.


 Step 4: Create WebCenter Content Domain.

 Go to Window and open CMD.
 Enter path  C:\Oracle\Middleware\Oracle_ECM1\common\bin\config.cmd


                                                Click Next.


                                              Choose the products which you have need and click Next.
                                               
                                  
                                                      Enter Domain name and click Next.


                                               User name: weblogic and password: welcome1


                                                 Select Jdk and click Next.


                                               DataBase Sid Name  orcl or XE.
                                               DataBase Host Name  localhost
                                               DataBase port number  1521.
                                                Password  Welcome1. and Click Next.


                                                    Click Next.

 
                                                         Click Next.


                                                    Enter the name of server and Click Next .


                                                     Click Next.


                                                       Click Next.


                                                         Click Next.


                                                  Click Next.


                                                    Click Create.


                                                   Click Done.


 Step 5: Start WebCenter Content 11g


Now WebCenter Content 11g can be started.
This command is used to start the Admin server.
 
C:\Oracle\Middleware\user_projects\domains\ecm_domain\bin\startWebLogic.cmd.

 This commands are used to start the managed servers.

C:\Oracle\Middleware\user_projects\domains\ecm_domain\bin\startManagedWebLogic.cmd UCM_server1

if you want to start IPM_server1 then.
C:\Oracle\Middleware\user_projects\domains\ecm_domain\bin\startManagedWebLogic.cmd IPM_server1


if you want to start IPM_server1 then.

C:\Oracle\Middleware\user_projects\domains\ecm_domain\bin\startManagedWebLogic.cmd IBR_server1


Friday, February 27, 2015

How To Use System Restore in Windows 7


Hi Friends..

How To Use System Restore in Windows 7

Navigate to the Start -> All Programs ->Accessories -> System Tools program group.

Click on the System Restore program icon.


Click Next > on the Restore system files and settings window.


Choose the restore point that you want to use.

Note: Check the Show more restore points checkbox to see more than
 the most recent restore points.


Note: Any restore points that you created, scheduled restore points that Windows 7 created, and those created automatically during the installation of certain programs will be listed here. You can not use System Restore to undo Windows 7 changes to a date that a restore point does not exist.

  1. Click Next >.
     
  2. Click Finish on the Confirm your restore point window to begin the System Restore.

    Note: Windows 7 will shut down to complete the System Restore so be sure to save any work you might have open in other programs before continuing.

    Important: System Restore will not revert any of your non-system files like documents, email, music, etc. to a previous state. These types files are completely unaffected by System Restore. If your intention with this tool was to recover a deleted non-system file, try using a file recovery program instead of System Restore.
  1. Click Yes to the Once started, System Restore cannot be interrupted. Do you want to continue? dialog box.
     
  2. System Restore will now restore Windows 7 to the state that was recorded in the restore point you chose in Step 4.

    Note: The System Restore process could take several minutes as you see the "Please wait while your Windows files and settings are being restored" message. Your computer will then reboot as normal when complete.


JDevelorer connect with database.


Hi Friends..

How to create connection in  JDeveloper with Oracle Database.

Open JDeveloper create new application and right click on model select new.


Select Business Components from tables.


Click Plus Sign.


Enter Connection Name like HR.
  Enter user name (DataBase user name )like  hr or system.
Enter password (DataBase password) welcome1.            
                          Host name localhost if database use another system then enter IP address.
SID name  orcl or xe.
Test Connection.
then click ok.


Now make Entity objects.
Select table Employee and Department.


Now make Up-datable view objects.
Select table Employee and Department.


If you have need Read only view object select the table otherwise click next.


At last click Finish.