ADFSolution

Friday, February 27, 2015

How To Use System Restore in Windows 7


Hi Friends..

How To Use System Restore in Windows 7

Navigate to the Start -> All Programs ->Accessories -> System Tools program group.

Click on the System Restore program icon.


Click Next > on the Restore system files and settings window.


Choose the restore point that you want to use.

Note: Check the Show more restore points checkbox to see more than
 the most recent restore points.


Note: Any restore points that you created, scheduled restore points that Windows 7 created, and those created automatically during the installation of certain programs will be listed here. You can not use System Restore to undo Windows 7 changes to a date that a restore point does not exist.

  1. Click Next >.
     
  2. Click Finish on the Confirm your restore point window to begin the System Restore.

    Note: Windows 7 will shut down to complete the System Restore so be sure to save any work you might have open in other programs before continuing.

    Important: System Restore will not revert any of your non-system files like documents, email, music, etc. to a previous state. These types files are completely unaffected by System Restore. If your intention with this tool was to recover a deleted non-system file, try using a file recovery program instead of System Restore.
  1. Click Yes to the Once started, System Restore cannot be interrupted. Do you want to continue? dialog box.
     
  2. System Restore will now restore Windows 7 to the state that was recorded in the restore point you chose in Step 4.

    Note: The System Restore process could take several minutes as you see the "Please wait while your Windows files and settings are being restored" message. Your computer will then reboot as normal when complete.


JDevelorer connect with database.


Hi Friends..

How to create connection in  JDeveloper with Oracle Database.

Open JDeveloper create new application and right click on model select new.


Select Business Components from tables.


Click Plus Sign.


Enter Connection Name like HR.
  Enter user name (DataBase user name )like  hr or system.
Enter password (DataBase password) welcome1.            
                          Host name localhost if database use another system then enter IP address.
SID name  orcl or xe.
Test Connection.
then click ok.


Now make Entity objects.
Select table Employee and Department.


Now make Up-datable view objects.
Select table Employee and Department.


If you have need Read only view object select the table otherwise click next.


At last click Finish.


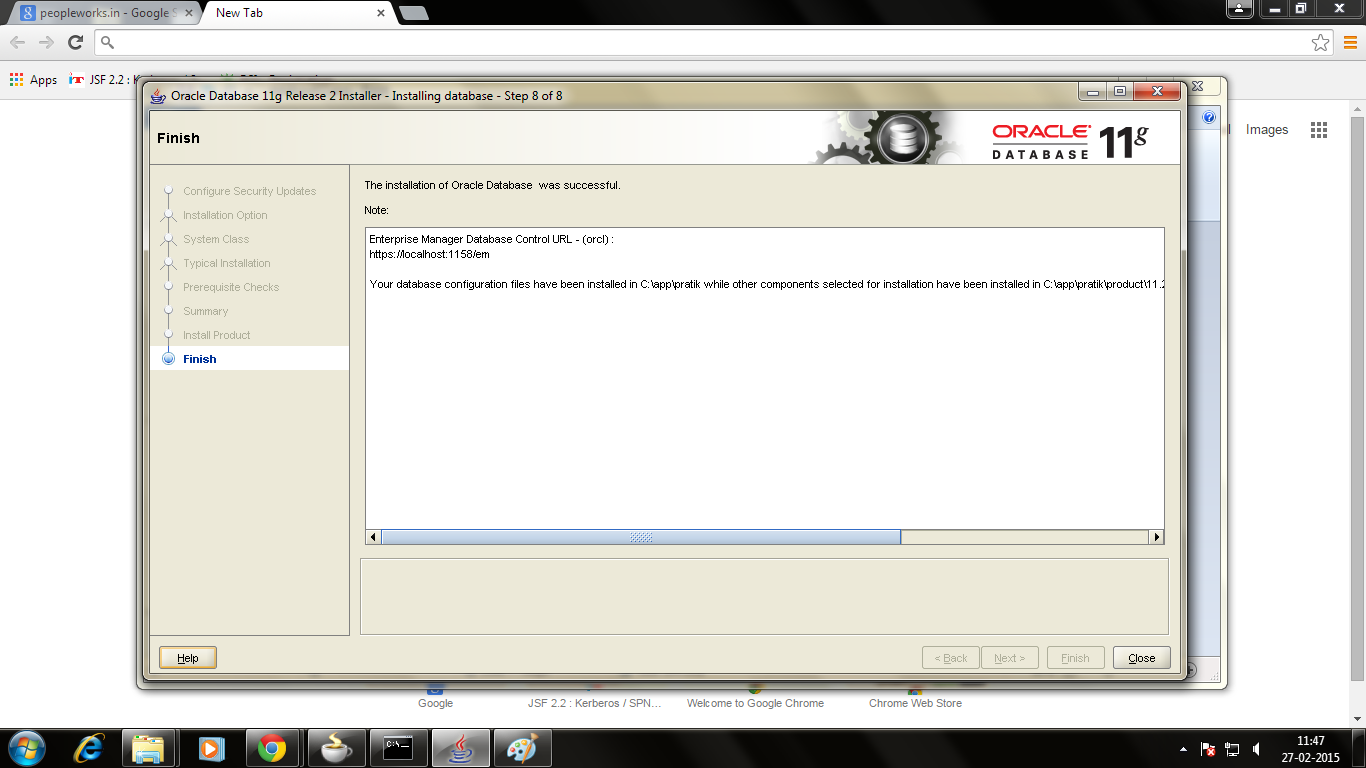
Oracle Database_11g_R2 Instillation


Hi Friends..

How to Installation Oracle Database_11g_R2 on Window and window server 2008.


Firstly you Download  Oracle Database_11g_R2  from Oracle Side.


Step 1 Go to Oracle Database_11g_R2.rar   and right click on Extrac file Run As Administrator.


                                                            Click Yes.


                                                   Enter Password   welcome1.


                                                           Click Password Management.


 Here you can Unlock HR Account and other account.
please unselect the check-box  and enter the password as you wish Like say welcome1 for HR Account.


click ok.


Now test the Data Base Account.
                                                  Go to Window open Sql plus enter your user name and password
          suppose you want to connect HR account. 

User name   HR
               Password         welcome1


                                            Go to Window open Sql plus enter your user name and password
          suppose you want to connect system account. 

                 User name   sys as sysdba
               Password         welcome1